How to Prepare for Your Flooring Installation
Whether it’s carpet, hardwood, tile, or whatever flooring you choose for your home, you should always be prepared for the installation. When one is well prepared, the installation process is quicker, more efficient and has an overall better result than one which wasn’t properly prepared for.
First things first, no matter what type of flooring you’re getting, the rooms need to be cleared of all décor items and furniture. If you need to leave the heavy lifting for the installers, that’s fine, but it may be an extra charge. Either way, make sure you cleared off any desks or tables as well as emptying contents out of drawers, closets, china cabinets, etc. This way, the objects are easier to move and the process will be quicker.
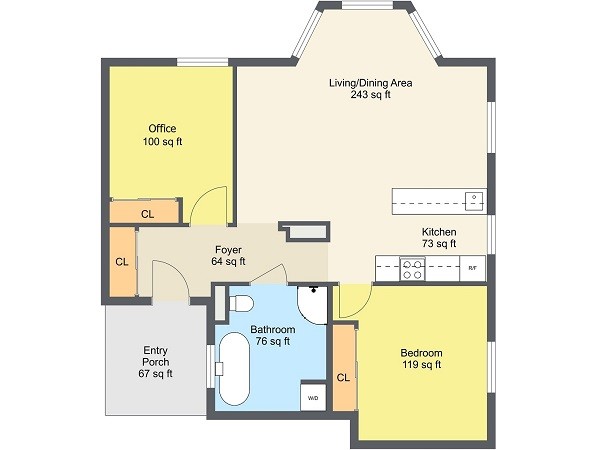
Always have a plan regarding your trim, subflooring and doors. All of these areas require special consideration and should be planned out prior to installation with the installers. It’s always smart to have a flooring “blue print” of whatever room or rooms that are getting new flooring to make it easier for you and the installers to plan for installation.
Keep in mind, with no plan of where you’d like to dispose of the old flooring, it may be a time consuming and messy process. Consider talking to the installers about the removal options prior to the installation, as well as additional waste that is produced during installation of the new flooring.
Carpet
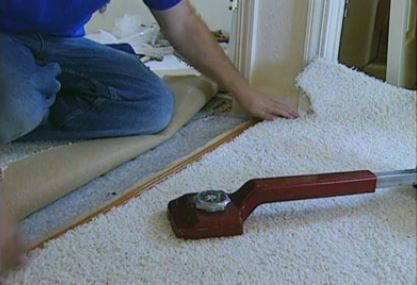
When preparing for a carpet installation, it is always a good idea to vacuum the old carpet before removal to minimize airborne dust and particles.
Make sure you are prepared for hiding the seams. The professionals excel at minimizing and hiding seams, but sometimes more carpet must be ordered to better match the patterns at the seams which will cost more money.
Hardwood
Hardwood is a bit more high-maintenance than carpet. The area of installation must be climate controlled, whether that be heat or air conditioned. The humidity must be maintained between 45 – 65%.
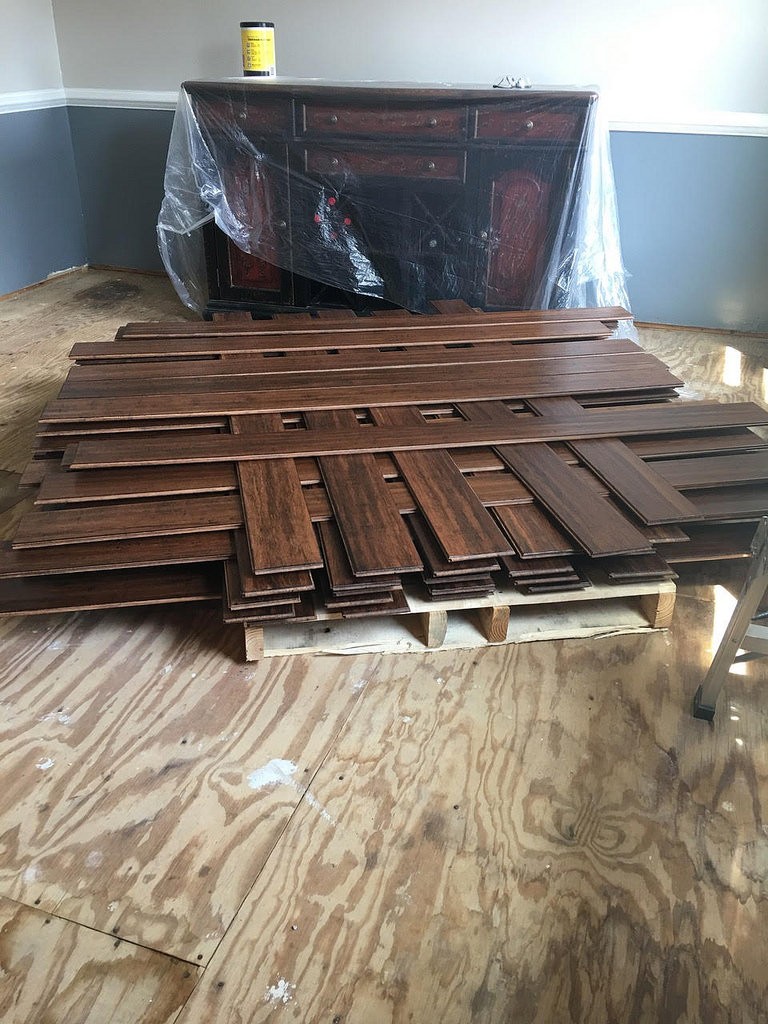
Be aware that acclimation is a must. Hardwood products need to be acclimated to the new environment for at least 4 to 5 days prior to installation. The installers will open the boxes and divide the pieces to be stored in the designated room.
Laminate and Luxury Vinyl
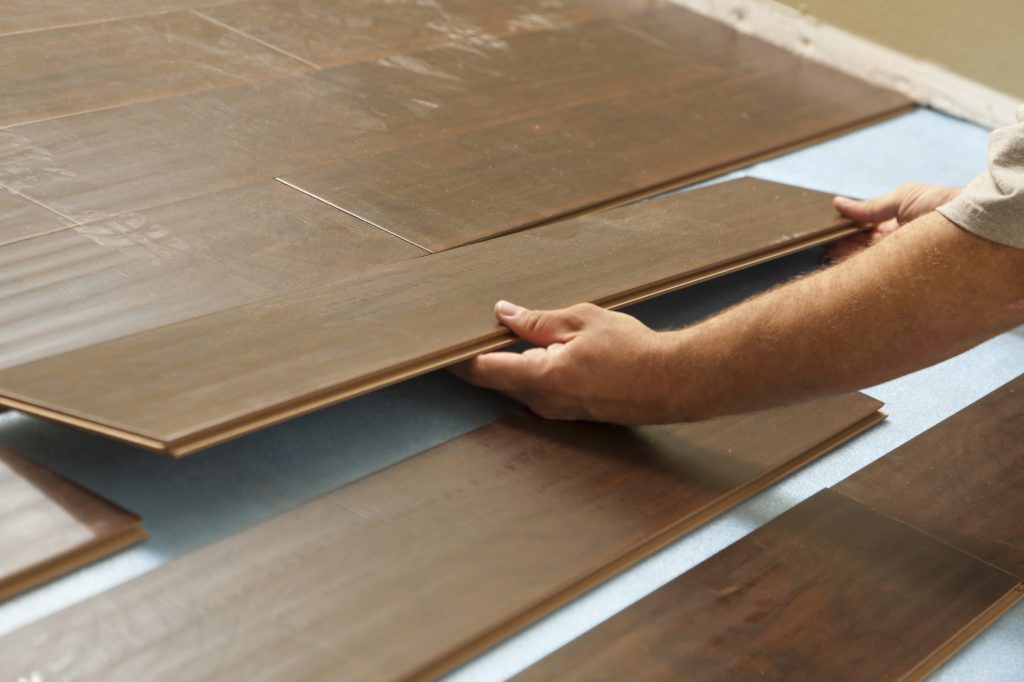
Laminate and Vinyl floors have similar installation processes. Most use a “floating floor” installation, meaning the planks or tiles lay on top of the floor without being adhered to the subfloor. Side seams are either glued together or joined using a “glueless” installation where the planks interlock together.
Before installation, take a close look at the subfloor for any imperfections. Any gaps or ridges could cause problems which you must notify the professionals about. After that’s done, clean the subfloor thoroughly.
Like hardwood, laminate and vinyl planks or tiles need time to acclimate to their new surroundings. Therefore, plan to have them delivered several days before the installation date.
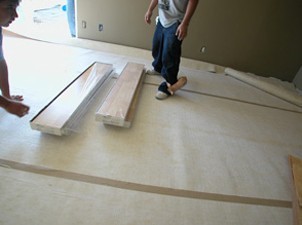
Come installation day, the installers put down and underlayment directly over the subfloor, allowing the floor to expand and contract with changes in temperature and act as a sound and moisture barrier. Then the planks or tiles are laid.
Not all laminate and vinyl products need glue, but some floors do. Using glue will lead to a longer installation process, but the flooring will have just as beautiful an outcome in the end.
Tile
Tile installation is the most labor-intensive process of them all, due primarily to the cleaning and leveling of the substrate required to provide a strong support base for the tile. Once the substrate is leveled, a waterproofing layer is applied.
These days, installers have been using a thinner mortar to set the tile, rather than the thick mortar. Using the thin mortar, the tile is first adhered directly onto a backer board that is nailed to a plywood or concrete substrate, which provides a supportive and water-resistant layer between the substrate and the tile applied on top of the mortar.
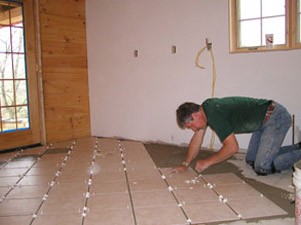
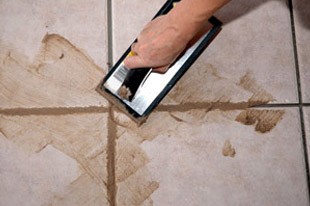
Grout must be applied about 12 – 24 hours after the tiled floor has been set into place. You’re able to choose from any color grout, either sanded or un-sanded, and it will need 24 hours to cure before you are able to walk on the new tile. The grout and mortar need time to set to ensure the tiles won’t shift or become loose. It’s always a good idea to mop the tile daily for several days after installation to prevent the grout from cracking.
Our final recommendation: Have a plan! That’s really what it all comes down to, no matter what flooring you are getting installed. Make sure you are fully prepared for a better, smoother and quicker outcome.

